
The Chorus 705 stand requires precise screw sizing for stability and durability. Proper screw size ensures secure assembly, alignment, and prevents damage. This guide provides essential specifications and recommendations.
1.1 Overview of the Chorus 705 Stand
The Chorus 705 stand is designed for durability and portability, featuring a sturdy construction to support musical instruments securely. Its adjustable height and robust materials ensure stability, making it ideal for both performance and practice. The stand is compatible with the Chorus 705 model, offering a reliable mounting solution. Its sleek design integrates seamlessly with various setups, providing a professional-grade support system. Proper assembly, including correct screw sizing, is crucial for optimal performance and longevity of the stand.
1.2 Importance of Screw Size in Stand Assembly
Using the correct screw size is crucial for ensuring the stability and structural integrity of the Chorus 705 stand. Incorrect screw sizing can lead to wobbling, uneven weight distribution, or even collapse under stress. Proper screws prevent damage to the stand and ensure secure attachment of the instrument. Additionally, they maintain alignment and balance, which are essential for performance. Screws that are too small or too large can compromise safety and longevity. Always refer to the manual for specified sizes to avoid potential risks and ensure optimal functionality.
Manual Specifications for the Chorus 705 Stand
The manual outlines specific screw sizes, torque limits, and material recommendations for optimal stand performance and durability, ensuring stability and safety during assembly and use.
2.1 Understanding the Stand’s Construction
The Chorus 705 stand is built with durable materials, such as aluminum and steel, ensuring stability and longevity. Its frame is designed to support heavy loads while maintaining a lightweight structure for easy transport.
The stand’s base is wide and reinforced, minimizing wobbling and enhancing overall balance. Height adjustment mechanisms are smooth, allowing precise positioning to meet specific performance needs; Understanding these construction elements is crucial for proper assembly and use.
2.2 Screw Size Requirements for Stability
The Chorus 705 stand requires specific screw sizes to ensure stability and durability. Using M6 or M8 screws is recommended, as they provide the necessary strength and torque capacity. Proper screw sizing prevents wobbling and ensures the stand remains secure under various loads.
The screws should be made of durable materials like stainless steel or zinc-coated steel to resist corrosion. Tightening screws to the recommended torque (20-25 Nm) ensures optimal stability and prevents damage to the stand or attached components.

Step-by-Step Installation Guide
Begin by preparing the stand components and aligning them properly. Secure the base with the recommended screws, ensuring stability and alignment before tightening all parts firmly.
3.1 Preparing the Stand for Assembly
Start by unpacking all components and verifying the screw size matches the Chorus 705 manual specifications. Inspect for any damage or missing parts. Organize the screws and hardware to ensure they are easily accessible during assembly. Align the stand base and legs properly, ensuring all surfaces are clean and free of debris. Use the provided screw set exclusively to avoid compatibility issues. Double-check the torque specifications to prevent over-tightening. Cover any sensitive connectors to protect them from dust during assembly.
3.2 Attaching the Stand to the Chorus 705
Align the stand with the Chorus 705, ensuring the mounting holes match perfectly. Insert the screws into the designated holes, making sure they are seated correctly. Tighten the screws in a star pattern to maintain even pressure and prevent warping. Use the torque specifications from the manual to avoid over-tightening. Double-check the alignment to ensure the stand is securely attached and the Chorus 705 is level. This step is critical for stability and proper functionality of the equipment.
3.3 Tightening the Screws to the Correct Torque
Tighten the screws in a star pattern to ensure even pressure distribution. Use a torque wrench to meet the specified torque value in the manual. Over-tightening can damage threads, while under-tightening may lead to instability.
Start with a lower torque and gradually increase to the recommended level; Double-check the torque specifications to ensure accuracy. Proper tightening ensures the stand remains stable and securely attached to the Chorus 705, preventing any potential damage or misalignment during use.

Screw Size and Type Recommendations
Use screws with precise measurements specified in the manual for the Chorus 705 stand. Choose durable materials like stainless steel or brass for longevity and rust resistance.
4.1 Standard Screw Measurements for the Chorus 705

The Chorus 705 stand requires screws with specific measurements to ensure proper fit and stability. Typically, M6 or M8 screws are recommended, with lengths ranging from 20mm to 30mm. These dimensions ensure that the stand is securely assembled without risking damage to the equipment. It’s crucial to refer to the manual for exact specifications, as deviations may lead to instability or improper alignment. Using the correct screw size is essential for both safety and optimal performance of the stand.
4.2 Using the Correct Screw Material for Durability
Selecting the right screw material is vital for ensuring the longevity and stability of the Chorus 705 stand. High-quality stainless steel or hardened steel screws are recommended due to their resistance to corrosion and wear. Avoid using low-grade materials, as they may rust or strip over time. Coated screws provide additional protection against environmental factors. Always refer to the manual for specific material recommendations to maintain the stand’s structural integrity and ensure optimal performance. Proper material selection prevents premature degradation and enhances overall durability.

Safety Precautions When Handling Screws
Handle screws with care to avoid stripping threads or damaging screw heads. Use appropriate tools and keep screws organized to prevent loss or accidental damage.
5.1 Avoiding Over-Tightening and Stripping Threads
Over-tightening screws can lead to stripped threads, compromising the stand’s stability and requiring costly repairs. To prevent this, use a torque wrench or screwdriver with a built-in torque limiter. Apply gentle, consistent pressure while tightening, and stop immediately if resistance increases. Ensure screws are properly aligned with their respective holes to avoid cross-threading. Using the correct screw size and type, as specified in the manual, further reduces the risk of stripping threads. Always refer to the manufacturer’s guidelines for torque specifications to maintain material durability and structural integrity.
5.2 Preventing Screw Head Damage
Preventing screw head damage is crucial for maintaining the integrity of the Chorus 705 stand. Always use screwdrivers with tips that match the screw head size to avoid slippage, which can strip or round the heads. Apply gentle, consistent pressure to prevent excessive force that may deform the screw head. Avoid using power tools that can apply too much torque. Regularly inspect screw heads for signs of wear or damage. If a screw head is damaged, replace it immediately to ensure proper torque and prevent further issues during assembly or use.
Maintenance Tips for the Chorus 705 Stand
Regularly inspect screws and bolts for wear or corrosion. Clean dust and debris from moving parts using a soft cloth. Lubricate hinges and joints to ensure smooth operation. Always use the correct tools to avoid damaging screws or surfaces. This routine maintenance ensures the stand remains stable and functions optimally over time.
6.1 Regular Inspection of Screws and Bolts
Regularly inspect all screws and bolts for signs of wear, rust, or damage. Check for loose connections and ensure all components are securely fastened. Use the correct tools to tighten screws without stripping threads. Inspect screw heads for damage or corrosion, as this can compromise the stand’s stability. Replace any worn or damaged screws immediately to maintain structural integrity. Proper inspection ensures the Chorus 705 stand remains stable and functional over time.
6.2 Cleaning and Lubricating Moving Parts
Regularly clean moving parts of the Chorus 705 stand to remove dust and debris, ensuring smooth operation. Use a soft, dry cloth to wipe down surfaces. Avoid harsh chemicals that may damage finishes. Lubricate hinges and joints with a silicone-based lubricant to maintain mobility and prevent squeaking. After cleaning, inspect for any wear or tear and address issues promptly. Proper maintenance extends the stand’s lifespan and ensures optimal performance. Keep all moving components clean and well-lubricated for reliable functionality.
Troubleshooting Common Screw-Related Issues
Addressing loose screws and stripped holes is crucial for stability. Use thread repair kits for damaged holes and ensure screws are tightened evenly to prevent further issues.
7.1 Dealing with Loose Screws
Loose screws can compromise the stability of the Chorus 705 stand. Regularly inspect and tighten them using the correct torque specifications. Apply a threadlocker if screws persistently loosen. Avoid overtightening to prevent thread stripping. Ensure all moving parts are secure and aligned properly. If a screw becomes stripped, consider replacing it with a slightly larger size or using a helical insert. Always refer to the manual for specific torque values to maintain the stand’s structural integrity and prevent potential damage during use.
7.2 Addressing Stripped Screw Holes
If a screw hole becomes stripped, it can compromise the stand’s stability. To address this, apply a threadlocker or insert a helical insert to reinforce the thread. For severely stripped holes, drill and tap the hole to accommodate a larger screw size. Avoid overtightening to prevent further damage. If the issue persists, replace the affected part. Regular inspection and proper torque application can prevent stripping. Always use screws and tools specified in the manual to ensure the stand’s safety and structural integrity.

Best Practices for Stand Assembly
Use the correct tools and follow torque specifications. Ensure all parts are properly aligned before tightening. Double-check for loose screws periodically to maintain stability and safety.
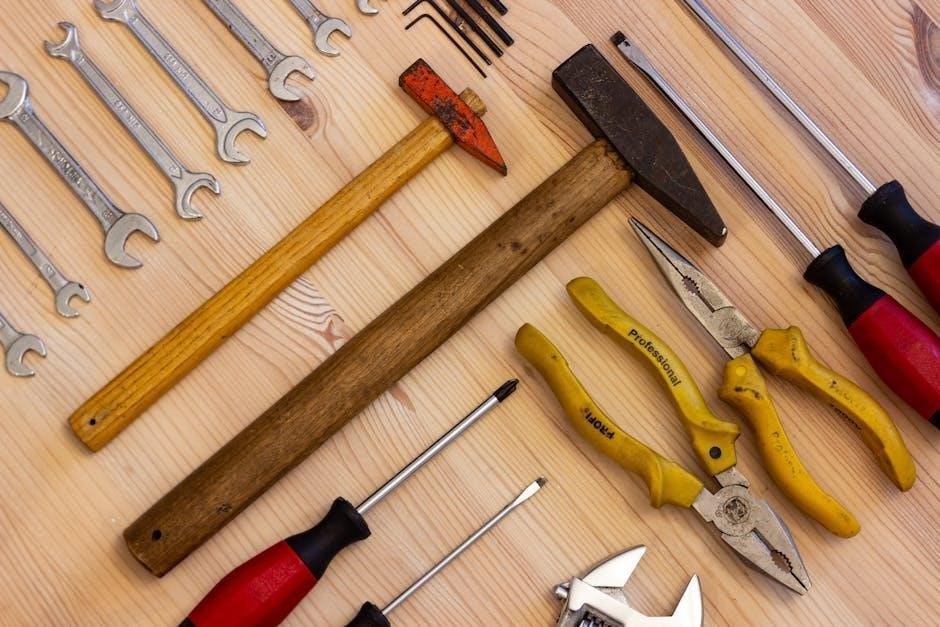
8.1 Using the Correct Tools for the Job
Using the correct tools is crucial for assembling the Chorus 705 stand. An Allen wrench and screwdriver are essential for handling screws properly. Always refer to the manual for specific tool recommendations. Avoid using pliers or hammers, as they may damage screws or strip threads. Torque wrenches are recommended for ensuring screws are tightened to the specified torque without over-tightening. Proper tools prevent damage and ensure a secure, stable assembly. Keep all tools organized to avoid misplacement during the process.
8.2 Aligning the Stand Properly for Stability
Proper alignment of the Chorus 705 stand is vital for ensuring stability and preventing damage. Begin by placing the stand on a flat, even surface and check for levelness. Use a torque wrench to tighten screws evenly, avoiding over-tightening. Misalignment can lead to instability, so ensure all components are correctly positioned. Refer to the manual for alignment guides. Double-check each connection to confirm it is secure and properly fitted. Correct alignment ensures the stand performs optimally and maintains the integrity of the Chorus 705 system.
Using the correct screw size and proper assembly ensures stability and durability for the Chorus 705 stand. Always refer to the manual for specifications and torque guidelines to complete the assembly effectively.
9.1 Final Checklist for Secure Stand Assembly
- Verify screw size matches manual specifications to ensure compatibility and stability.
- Check torque specifications and tighten screws evenly to avoid uneven stress.
- Ensure all components are properly aligned before final tightening to maintain balance.
- Inspect for loose screws after assembly and retighten if necessary.
- Use the correct tools to prevent stripping threads or damaging screw heads.
- Consult the manual for any specific recommendations or warnings.
This checklist ensures a secure and durable assembly of the Chorus 705 stand.